ID photo software
Сamera control software
ID card software
info@akond.net, akondsales@gmail.com
| 
| | |
Incardex >> Work with MS Access database
|
 |
Incardex software:
Work with MS Access database
|
Lesson #3. How inCard works with MS Access database.
ID card software - Incardex - is designed for ID card management and printing.
In some cases the user has ready MS Access database with the card holders' data. Incardex provides an ability to connect with available MS Access database, work with all data, add card holders' photos, and print ID cards.
Below we explain step by step how to connect with MS Access database from within Incardex software. |
|
|
Let us assume that you already have a ready Access database in .mdb format. Please anticipate an OLE object field to store images in your Access database if you wish to add card holders' photos later.
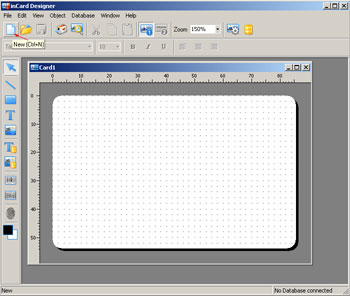
Run Incardex Designer module of inCard software. This module is used to create ID card layouts, create internal database or connect with the external databases, including connection with MS Access databases.
Create New Card layout (Click New button on the Toolbar).
|
|
|
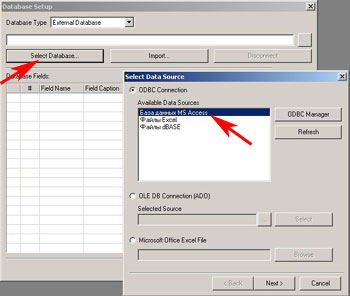
Go to Menu Database - Database Setup... In the Database Setup window select Database Type: External Database. Check ODBC connection and select MS Access Database. Click Next.
|
|
|
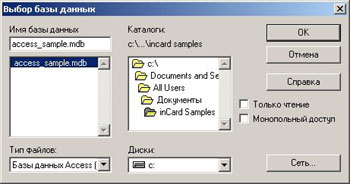
Select your Access database from a list of databases available. Click OK.
|
|
|
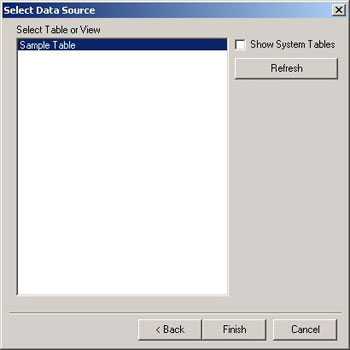
In the Select Data Source window Select Sample Table and click Finish.
|
|
|
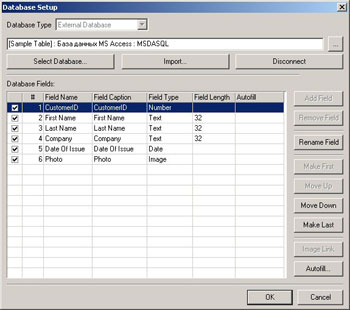
In the bottom part of the Database Setup window you will see all Access database fields available. If necessary re-arrange the database fields, change their labels, and other options. Click OK.
|
|
|
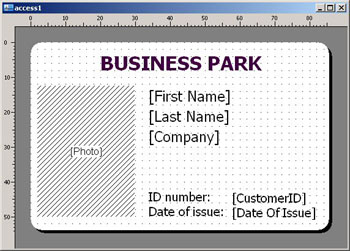
Create ID card layout. Draw all required fields (First Name, Last Name, Company, ID number, Date of issue - using the Text from DB button on the Toolbar and selecting the assigned database fields, and Photo - using the Image from DB button on the Toolbar and selecting assigned database field). Save created ID card layout in a file with .icp format.
|
|
|
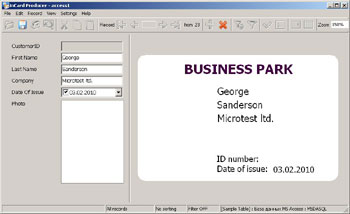
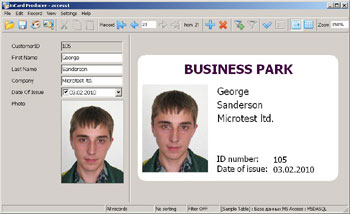
Then run Incardex Producer module. Open .icp project just created in Incardex Designer module. Add a New Record to the database. Fill the database fields with the card holder data.
|
|
|
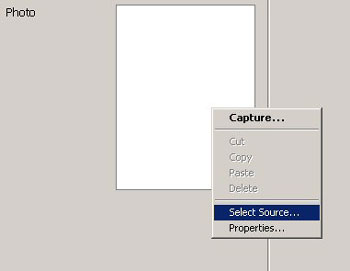
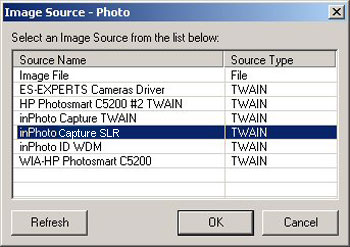
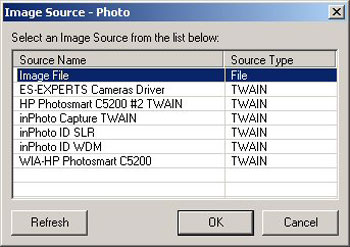
There are two options to add the card holder photo to the database record: capture photo with Canon Powershot or Canon SLR camera or open the ready ID image from disk. Click right mouse button on the Photo field. Select Select Source...
|
|
|
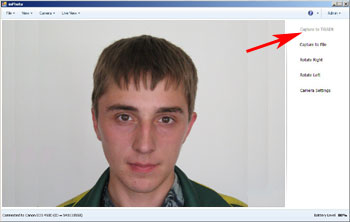
inPhoto Capture SLR / inPhoto Capture software will run. In the Image Preview area you will have live image preview of a card holder. Adjust camera settings for better imaging, and press Capture to TWAIN.
|
|
|
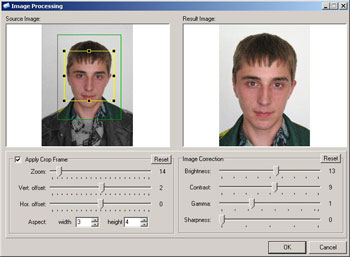
The captured image will open in the Image Processing window. The human face is detected and cropped automatically. The cropping options are adjustable. It is also possible to enhance the cropped image by changing its brightness, contrast, and sharpness. When image crop and enhancement operations are completed press OK.
|
|
|
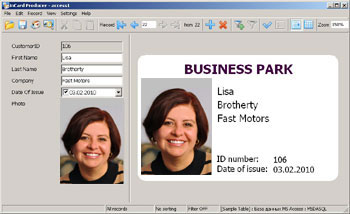
The image will be displayed in the Photo field and on the ID card. Now you can print the ID card out or just save it and start adding new records in Incardex Producer.
|
|
|
If you have ready ID photos on PC disk you may use them as well. For this click right mouse button on the Photo field and select Image File as the image source.
|
|
|
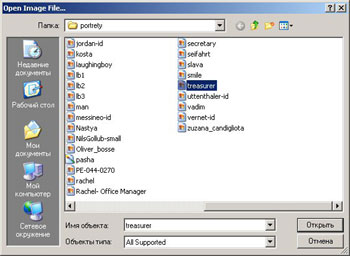
Browse the ID photo image on the computer disk. Open ID photo image.
|
|
|
The ID photo will be inserted into the database record. The ID card is now ready for printing.
|
| | |
|
|